Google Sheets
You can send data to Google Sheets from a val. You can collect data from incoming HTTP requests or from a HTTP endpoint on a schedule.
Authencating with the Google Sheets API is a bit tricky, but we walk you through it below. It should only take a few minutes, and only needs to be done once.
Google reccomends OAuth2 server to server authentication for bot-based applications. We will walk you through creating a Google Cloud service account, giving it access to one of your Google Sheets, and using its key to make authenticated requests to the Google Sheets API.
1. Create a Google Cloud service account
Creating a Google Cloud service account is the reccomended way to authenticate to the Google Sheets API.
a. Create a Google Cloud project
Open the Google Cloud console and click on the Select a project dropdown in the top left.

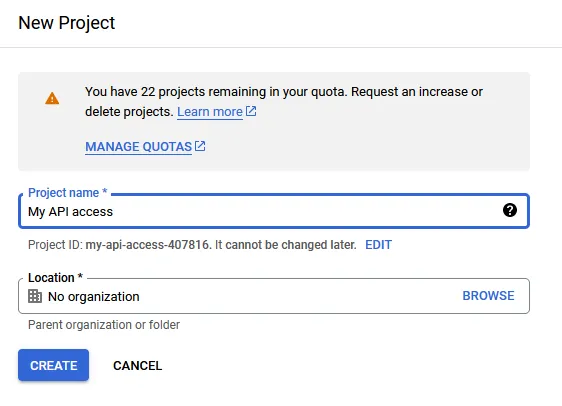
In the dialog that pops up, click on the New project button.

Choose any name for the project name, then click Create.
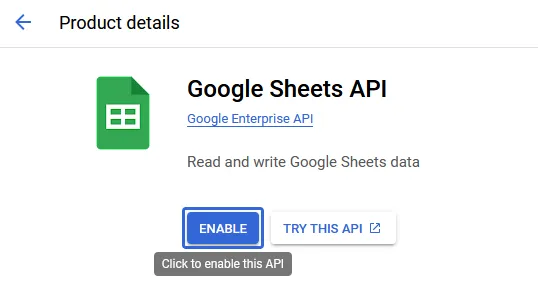
b. Enable the Google Sheets API
Open the Google Sheets API page, then double check if the correct project is selected.
Once you have made sure that you are using the correct project, click Enable.
c. Create a service account
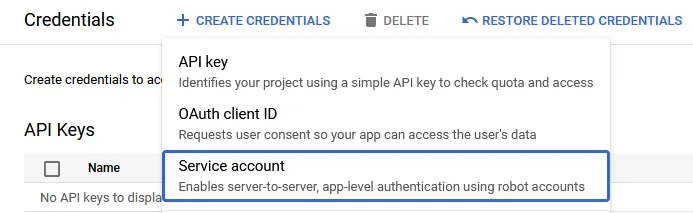
On the left of the screen, click on Credentials.
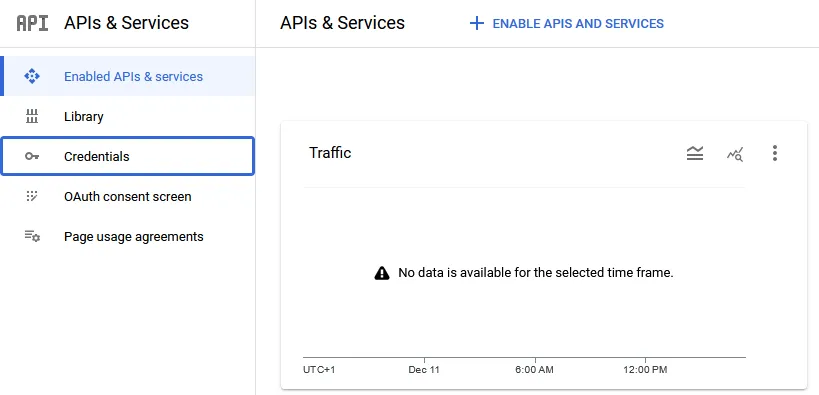
On the bar at the top, click on the Create credentials button, then select Service account.
Enter any name for the Service account name. You may also enter a description, as you see fit.
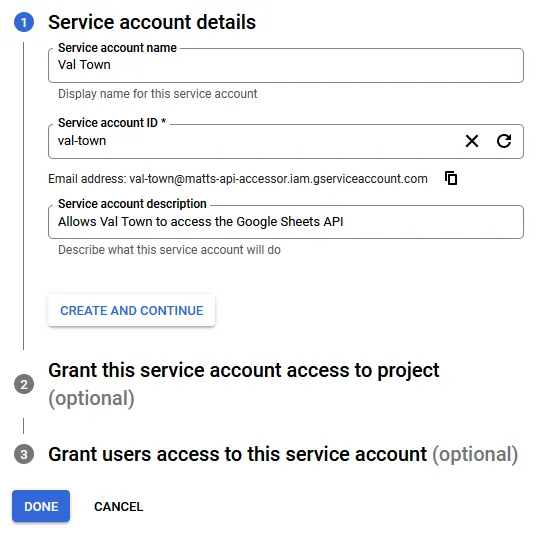
Save the email address for later, as it will be required to add the service account to a Google Sheet.
Click Done, as granting permissions to this service account is not required.
d. Create a service account key
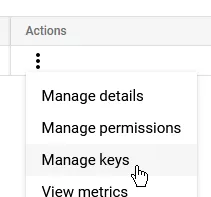
To the right of the screen, open the menu on the newly created service account, and click Manage keys.
Click Add key, then Create new key.
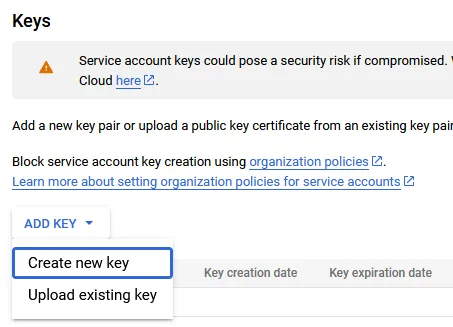
Click Create key. Leave the type as JSON.
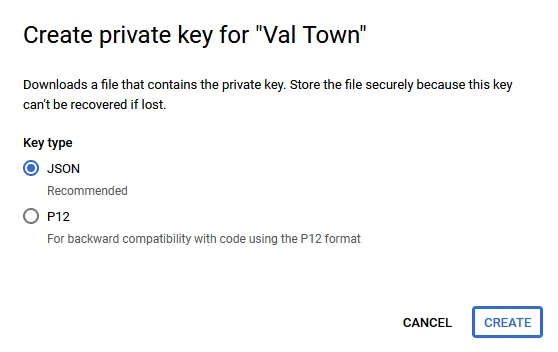
You will get a JSON file in your downloads directory.
e. Import the key into Val Town
Open the service account key JSON file in a text editor, and copy the full contents.
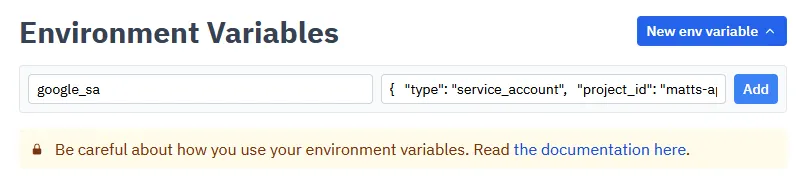
Open the Environment Variables page, then click New env variable.
Set the key to a name like google_service_account, then paste the entire JSON data into the value.
Once you are finished, click Add.
2. Create a sheet and grant access
Open Google Sheets and create a new empty sheet or open an existing one.
Click the Share button, then paste your service account’s email into the dialog. Make sure it is added as an editor, and optionally disable “Notify people”.
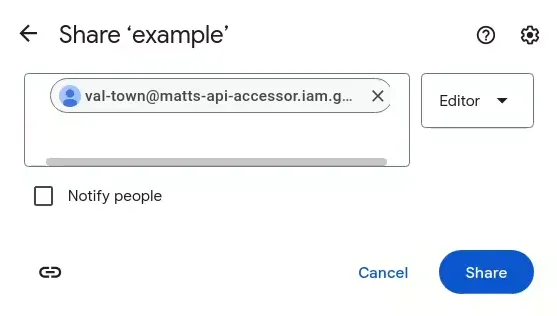
Lastly, copy the sheet ID from the URL bar. It’s the long string of characters between /d/ and /edit.
![]()
3. Create a val to send data
To interact with the Google Sheets API, use the @mattx.gsheet_call wrapper.
This automates requesting an access token from Google to access the Google Sheets API.
It requires 4 arguments:
- The contents of your service account JSON file: in almost all cases, this should be retrieved from environment variables
using - for example,
Deno.env.get("google_service_account"). - The sheet ID
- The action to perform: This parameter is the part of the URL that comes after
https://sheets.googleapis.com/v4/spreadsheets/{spreadsheetId}/, along with any URL parameters that might be required (often this isvalueInputOption). For example, for spreadsheets.values.append, this will bevalues/{range}:append?valueInputOption=RAW, where{range}needs to be substituted for a range likeA1:C3. You can find a list of available actions in the Google Sheets API reference. - The request body: In the same example as above, the request body could be
{values: [[1, 2, 3]]}. Notice that this is an array of arrays, in line with the API documentation.
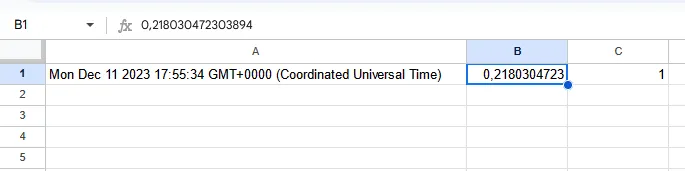
Here is an example of what the above looks like when put together:
import { gsheet_call } from "https://esm.town/v/mattx/gsheet_call";
// Appending to a sheetawait gsheet_call(  Deno.env.get("google_sa"),  "1LDgOhO6Fxg2wt5rGFH29t6XYbmKe6fXI7fLSFaqZkDA",  "POST",  "values/A1:C1:append?valueInputOption=RAW",  { values: [[Date(), Math.random(), 1]] },);
// Reading from the top of the sheetconst data = await gsheet_call(  Deno.env.get("google_sa"),  "1LDgOhO6Fxg2wt5rGFH29t6XYbmKe6fXI7fLSFaqZkDA",  "GET",  "values/A1:C1?majorDimension=ROWS",  {},);console.log(data["values"][0]);